10 Sewing Tips for Beginners
The top 10 sewing tips for beginners are: measure carefully, test stitches on scrap fabric, lock your seams, read instructions fully, keep your space organised, guide fabric gently, maintain your machine, use the right needle, save scraps for testing, and take your time learning each technique.
Learning to sew comes with a mix of excitement and nerves. On one hand, you get the thrill of creating something from scratch. On the other hand, you face questions like “Why is my thread bunching?”, “Did I cut this right?”, or “Why does this pattern look confusing?”. Every sewer has been there, and the good news is that sewing becomes easier, more enjoyable, and more satisfying with the right guidance.
These practical suggestions and tips for sewing will help you build confidence, avoid common mistakes, and make the most of every moment you spend with your machine and fabrics.
1. Measure Twice, Cut Once
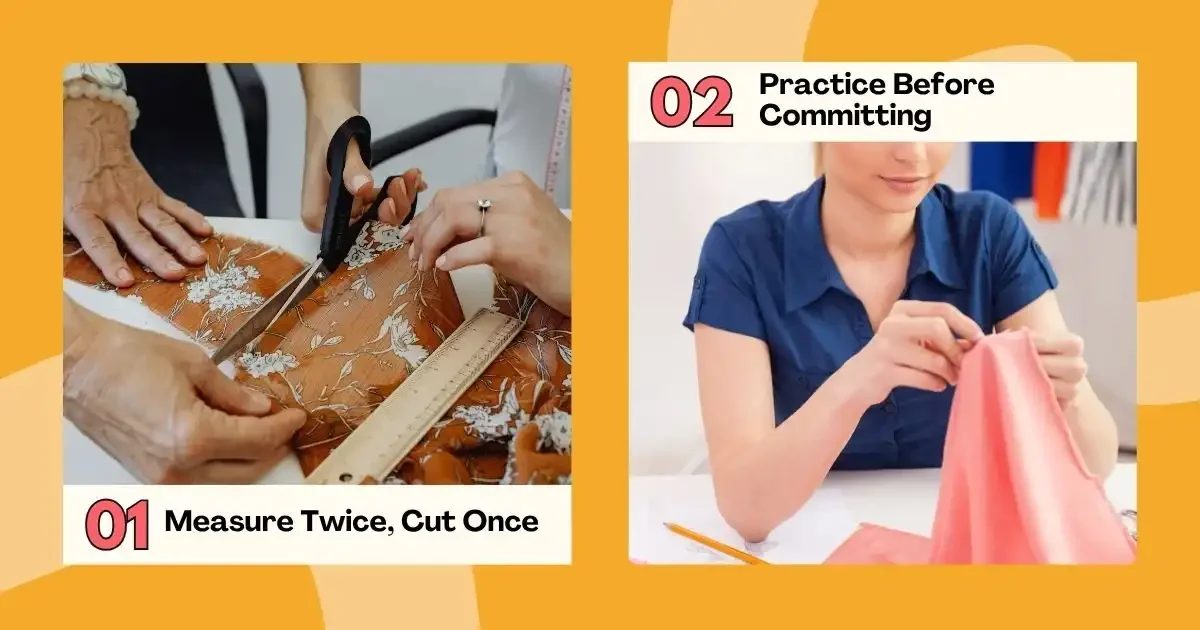
One of the most repeated, yet most important, sewing rules is simple: always measure carefully before cutting your fabric. In sewing, a few millimetres can completely change the fit or shape of your final piece. If you’re brand new to sewing, you might find our Basic Sewing Terms for Beginners helpful before you start.
Accurate measuring helps avoid wasted fabric and ensures your pattern pieces line up exactly as they should. Make it a habit to double-check your measurements and ensure that your tools—such as measuring tapes, rulers, and grids—are properly aligned. If you’d like hands-on guidance on mastering these techniques, check out our Monday Evening Sewing Classes, where beginners can learn step by step. Taking an extra minute now saves you from frustration later.
2. Practice Before Committing
Even experienced sewers test stitches on scrap fabric before sewing the real thing. Fabrics behave differently, machines respond differently to various materials, and tension settings don’t always cooperate right away.
Before stitching your actual project fabric, try out your thread, stitch length, and stitch type on a leftover piece. This gives you a sense of how the fabric moves through the machine, allowing you to make adjustments without compromising your project. If you’d like hands-on guidance with practising these techniques, check out the Tuesday Evening Sewing Classes. This little step can save you a lot of unpicking later.
3. Always Lock Your Stitches

Locking your stitches means securing the beginning and end of every seam. You do this by stitching forward a few steps, then reversing for a few stitches, and finally stitching forward again.
This prevents your thread from unravelling as your project is used or washed. Some beginners forget this step and end up with seams coming undone. Get used to locking every seam—especially on seams that will be tugged, stretched, or stressed. For hands-on practice and guidance, you can join the Wednesday Daytime Sewing Classes.
Another useful trick for starting seams cleanly: position your threads so they don’t slip out of place, and let the first stitches anchor them properly.
4. Read Instructions All the Way Through First
Patterns often look complicated at first glance. Many beginners skip to step one and start sewing immediately, but the best approach is to read the entire set of instructions first.
Understanding how all the pieces fit together helps you avoid mistakes such as cutting the wrong amount of fabric or sewing parts in the wrong order. Some techniques later in the instructions might require preparation earlier on.
A thorough read-through provides a clearer picture and makes the sewing journey much smoother. If you want guided support in following patterns and instructions, the Wednesday Evening Sewing Classes are a great way to practise with expert guidance.
5. Keep Your Sewing Space Organised
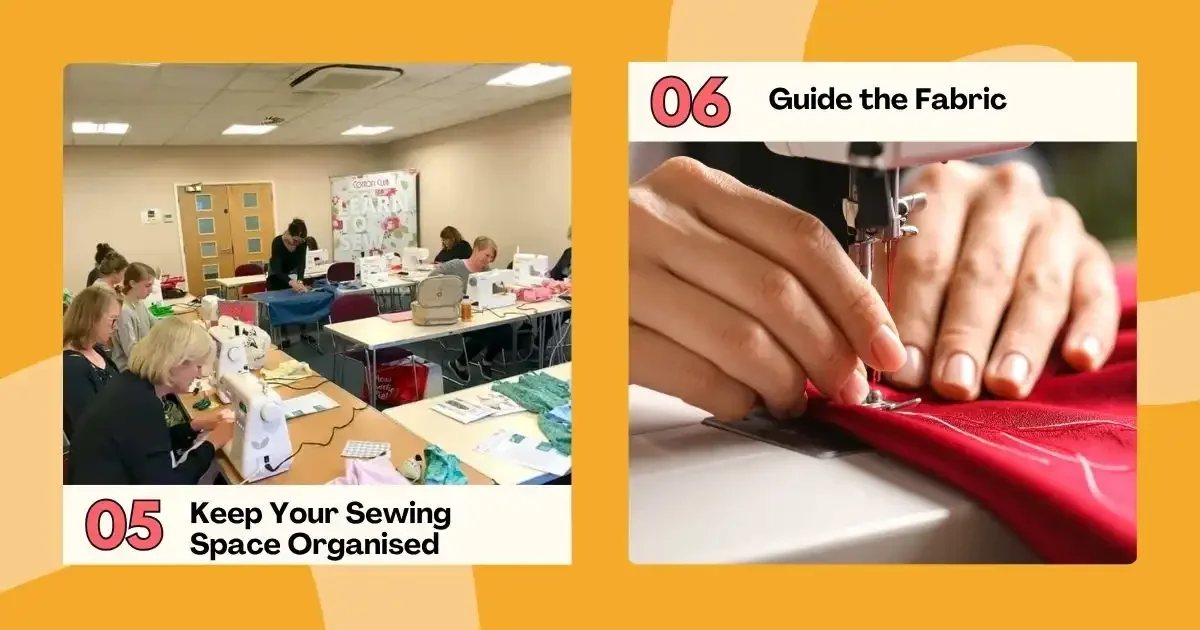
A neat, organised sewing space saves time and makes your workflow smoother. You don’t need a dedicated craft room—a clean table with baskets, jars, or small containers for your tools will suffice.
When your scissors, pins, threads, bobbins, and needles are always in the same place, you avoid interrupting your sewing to hunt for essentials. An organised space reduces stress and helps you enjoy sewing without unnecessary distractions. For hands-on tips on keeping your sewing area tidy while practising your skills, consider the Thursday After-School Sewing Classes.
6. Guide the Fabric—Don’t Force It
Your sewing machine has feed dogs located under the presser foot that pull the fabric through at the correct speed. Many beginners try to push or pull the fabric through the machine, thinking they’re helping. This can result in uneven stitches, needle damage, or stretched fabric.
The machine already knows how to move the fabric. Your hands should simply guide it gently, keeping it straight and flat. Let the machine do the heavy lifting. This is how you get neat, even seams.
7. Clean and Maintain Your Sewing Machine
Lint, dust, and thread fibres easily build up in sewing machines. If you don’t clean it regularly, your machine may jam, skip stitches, or run louder than usual.
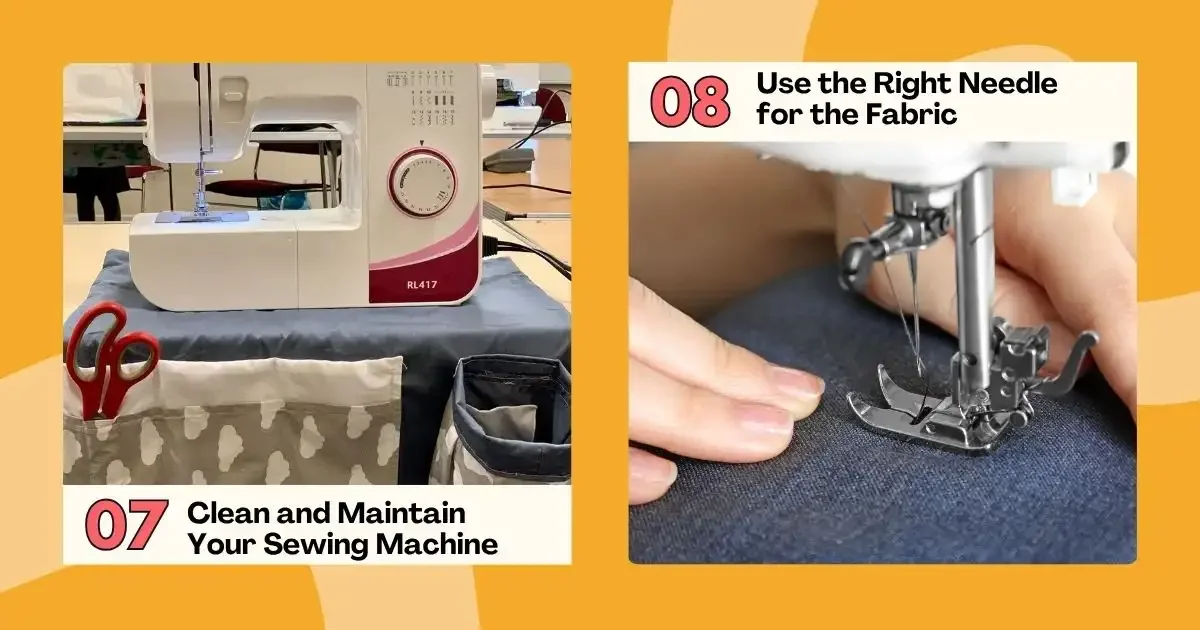
Make cleaning part of your routine:
Remove lint from the bobbin area.
Brush away fibres from under the needle plate.
Oil the machine if your manual recommends it.
Replace needles regularly
Take the machine for occasional servicing.
Maintenance extends your machine’s life and keeps stitches looking clean and consistent. A well-kept machine makes sewing more enjoyable and far less stressful. If your stitches aren’t behaving as expected, proper threading makes a huge difference. Our guide on how to thread a sewing machine walks you through it step by step.
8. Use the Right Needle for the Fabric
Different fabrics require different types of needles. Quilting cotton, denim, stretch fabrics, and delicate materials all react differently to needle size and shape.
Using the wrong needle can:
Damage fabric
Cause skipped stitches
Break the needle
Create messy seams
Begin with a small collection of basic needles—universal, stretch, denim, and microtex—and switch them based on the type of fabric you are working with. It’s also helpful to keep old needles labelled so you know which ones have been used. Pairing the correct needle with the right machine settings is key. Our guide on sewing machine settings for different fabrics explains how to adjust tension, stitch length, and more.
9. Keep Fabric Scraps for Testing

Never throw away your small leftover fabric pieces. They’re extremely useful. Before sewing on your main project, use scraps of the same fabric to test:
Tension
Stitch length and width
Decorative stitches
Thread colour
Machine settings
Testing helps you avoid accidentally creating uneven stitches or the wrong tension on your actual project. Starting with beginner-friendly fabrics makes learning much easier. Take a look at our guide to the best fabric for beginner sewing before choosing your next project.
10. Try a Rotary Cutter and Cutting Mat
A rotary cutter can make cutting fabric faster and more precise, especially for straight lines and repetitive pieces. It’s an optional tool, but many beginners find it easier to control than scissors.
If you use one:
Always cut on a self-healing cutting mat.
Use a ruler to keep lines straight and evenly spaced.
Keep fingers safely away from the blade.
Replace the blade when it becomes dull.
Rotary cutters are especially useful for quilting, bag making, and garment sewing, where clean lines matter.
From Small Steps to Confident Sewing
Sewing becomes far more enjoyable when you view it as a gradual learning process rather than something to master instantly. The more you work with different fabrics and understand your machine’s behaviour, the more natural each project will feel. As you continue to practice, every stitch teaches you something useful and builds your confidence.
Treat each project as a small step forward, stay patient, and let your creativity guide what you make next. And if you want guided support as you improve, Cotton Club offers beginner-friendly workshops and structured learning paths that make sewing feel easier and more achievable. Browse our full range of Sewing Courses to build your skills with expert guidance and hands-on lessons.
Frequently Asked Questions for Beginner Sewing Tips
What is the first thing a beginner should sew?
Household items are often the best place to begin because they’re usually simpler to sew than clothing. Using these beginner sewing tips and tricks, you can start with pieces like blankets, pillows, burp cloths, or even key fobs, allowing you to practise basic skills without the pressure of complex shaping or fitting.
What are common sewing mistakes to avoid?
Frequent sewing errors include neglecting to pre-wash or press fabric, using the wrong needle or thread, cutting inaccurately, and failing to follow the pattern instructions. Learning sewing tips and tricks for beginners can help you avoid these common mistakes and make your projects smoother and more enjoyable.
What is the most important thing to remember before you start sewing?
One of the most important things to keep in mind as you start sewing is that taking your time pays off. Focusing on small, careful steps helps prevent mistakes, as skipping essential details early on can cause bigger problems later in your project.
What is the first thing to learn in sewing?
Familiarise yourself with your tools and materials. Understanding your sewing machine, fabrics, and other supplies is essential. Every beginner can benefit from a clear sewing guide for beginners to get started, and while learning about different fabrics is a lifelong journey, everyone has to start somewhere.