Sewing Machine Settings For Different Fabrics
Getting neat, reliable results from your sewing machine is not about luck. It comes down to understanding your sewing machine settings and knowing how to match them to the fabric you are working with. Each fabric behaves differently under the needle, and small adjustments can prevent common problems like puckering, skipped stitches, broken threads, or uneven seams.
If you have ever followed a pattern carefully but ended up with disappointing results, the issue was likely not your skill level but the settings on your machine. This guide breaks down how stitch length, tension, and needle choice work together across a wide range of fabrics, helping you sew with confidence and consistency.
Why Sewing Machine Settings Matter?
Fabrics vary in thickness, structure, stretch, and weave. A setting that works beautifully on cotton may ruin silk or struggle with denim. Using incorrect sewing machine settings can cause:
Puckered seams
Skipped or loose stitches
Fabric damage or pulls
Broken needles or thread
By learning how to adjust your machine for different materials, you gain more control over your sewing and achieve cleaner, stronger seams.
Understanding Sewing Machine Needles
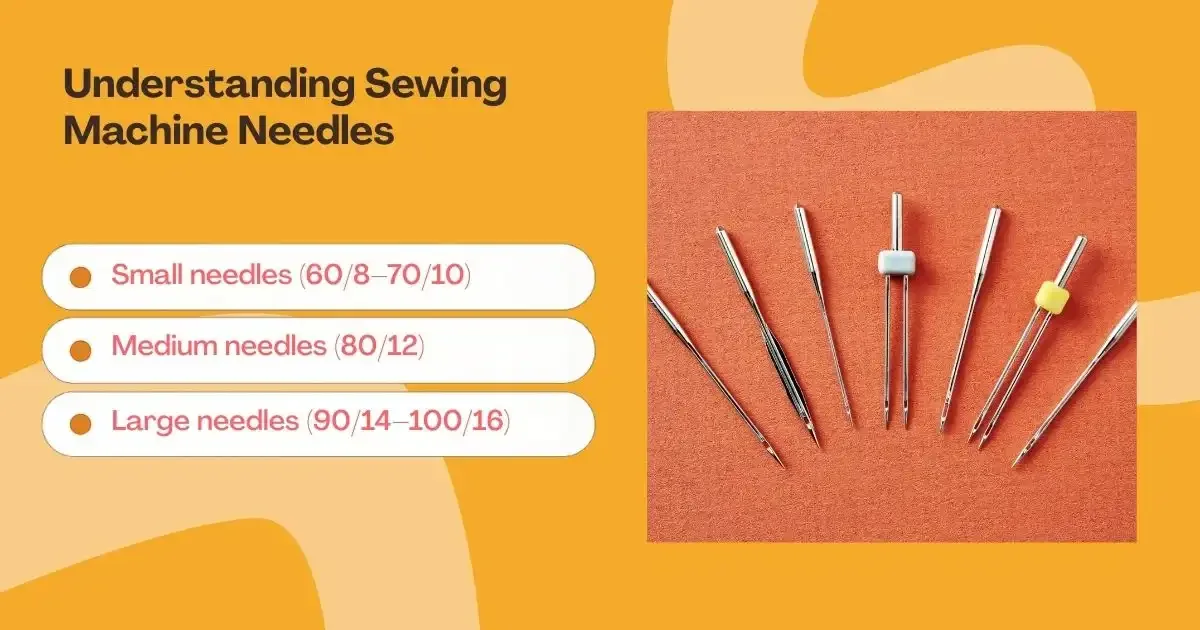
Before adjusting stitch length or tension, it is essential to understand sewing machine needles and how they interact with standard sewing machine settings. The needle does far more than simply carry thread through fabric. Its size and shape affect how the fabric feeds, how stitches form, and how clean the final result looks.
What Needle Numbers Mean
Sewing machine needles are usually labelled with two numbers, such as 70/10 or 90/14.
The first number is the metric size, showing the needle’s diameter in hundredths of a millimetre
The second number is the imperial size, based on the older Singer system
A lower number means a finer needle, suitable for lightweight fabrics. A higher number indicates a thicker needle designed for heavier materials.
Needle Size Overview
Small needles (60/8–70/10): Lightweight fabrics such as silk, chiffon, voile, and fine cotton
Medium needles (80/12): Everyday fabrics like cotton, linen, and polyester
Large needles (90/14–100/16): Heavy fabrics including denim, canvas, tweed, and upholstery materials
Common Sewing Machine Needle Types
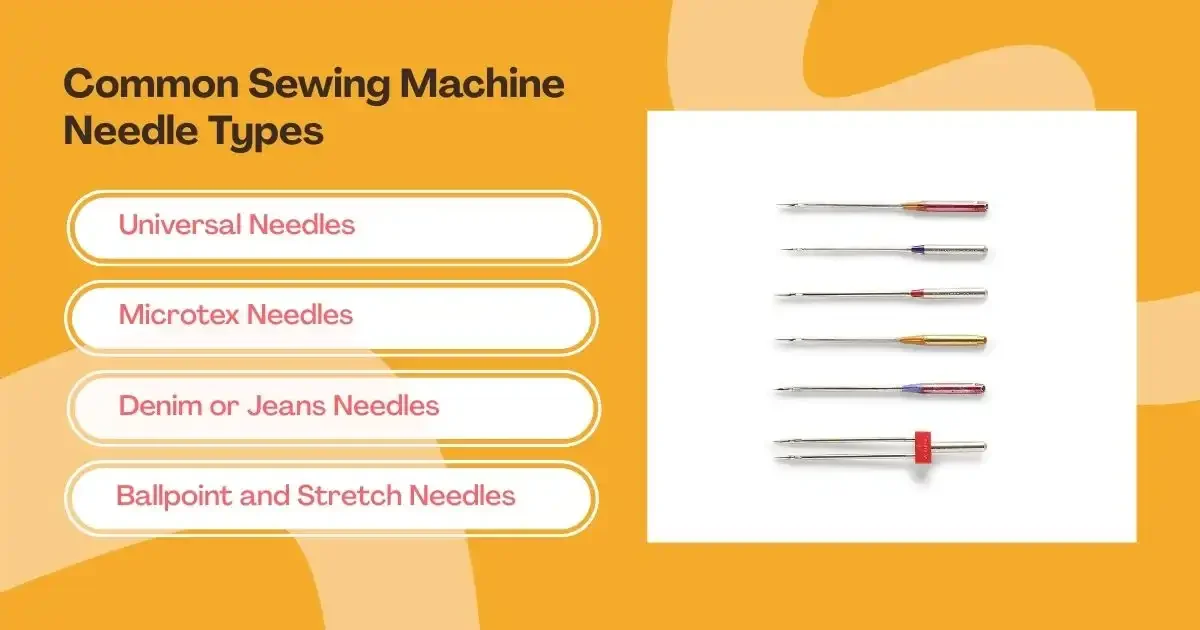
Choosing the correct needle type is just as important as selecting the right size.
Universal Needles
Universal needles are designed for both woven and knit fabrics. They are the most commonly used needle and work well for general sewing projects.
Microtex Needles
Microtex needles have a very sharp point and slim profile. They are ideal for fine, delicate, or tightly woven fabrics where accuracy and clean stitching are essential.
Denim or Jeans Needles
Denim needles are reinforced to penetrate thick, tightly woven fabrics. They prevent skipped stitches and needle breakage when sewing heavy layers.
Ballpoint and Stretch Needles
These needles have a rounded tip that slides between fibres instead of piercing them. They are essential for knit and stretch fabrics to avoid damaging the fabric structure.
Stitch Length and Tension Explained
Two of the most important sewing machine settings are stitch length and tension. These settings work together to form balanced, durable stitches.
Stitch Length
Stitch length controls how long each stitch is. Short stitches suit lightweight or delicate fabrics, while longer stitches work better for thicker materials.
Tension
Tension controls how tightly the top and bottom threads pull against each other. Balanced tension creates smooth stitches that lie flat on the fabric.
Always treat recommended settings as a starting point. Fabric thickness, weave, and your sewing machine model can affect results. Testing on a scrap piece of fabric before sewing your project is strongly recommended.
Sewing Machine Settings for Cotton and Linen
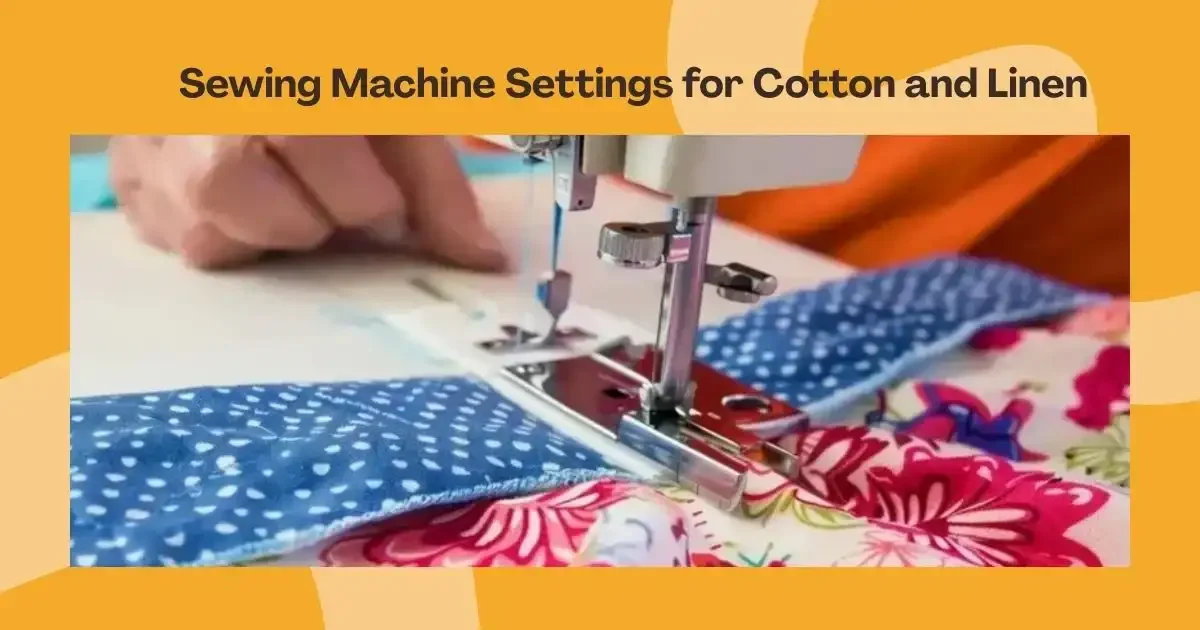
Cotton and linen are natural fibres and some of the most commonly used sewing fabrics. Their breathability and durability make them suitable for everyday garments and home projects.
Lightweight to Medium Cotton
Needle type: Universal
Needle size: 70/10 or 80/12
Stitch length: 2.0–2.5 mm
Tension: 4–5
Lightweight cotton benefits from slightly shorter stitches. Heavier cotton may require a larger needle to prevent skipped stitches.
Cotton and Linen Blends
Needle type: Universal
Needle size: 80/12
Stitch length: 2.5–3.0 mm
Tension: 4–5
These fabrics behave like medium-weight materials and respond well to standard sewing machine settings.
Linen (Dress Weight to Suiting)
Needle type: Universal or Microtex
Needle size: 80/12 to 90/14
Stitch length: 2.5–3.5 mm
Tension: 4–6
Heavier linen benefits from a longer stitch length to reduce seam bulk.
Sewing Machine Settings for Wool Fabrics
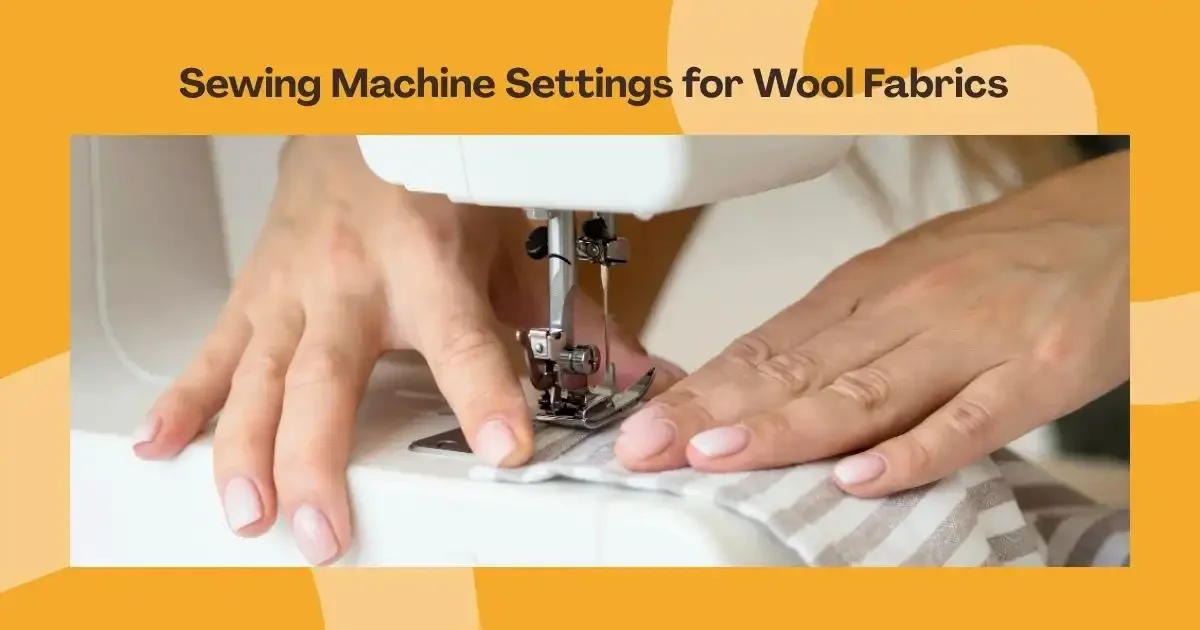
Wool is a versatile natural fibre with a wide range of textures and weights. Its structure means it can stretch or compress under the needle if not handled correctly.
Cashmere and Fine Wool
Needle type: Universal or Microtex
Needle size: 70/10 or 80/12
Stitch length: 2.5–3.0 mm
Tension: 3–4
Use finer needles and sew slowly to protect delicate fibres.
Flannel and Gabardine
Needle type: Universal or Microtex
Needle size: 80/12 or 90/14
Stitch length: 2.5–3.0 mm
Tension: 4–5
Sharp needles help create clean stitches on brushed or tightly woven wool fabrics.
Tweed and Heavy Wool
Needle type: Universal or Denim
Needle size: 90/14 or 100/16
Stitch length: 3.0–3.5 mm
Tension: 4–6
A walking foot can help manage uneven textures and multiple layers.
Sewing Machine Settings for Silk and Delicate Fabrics
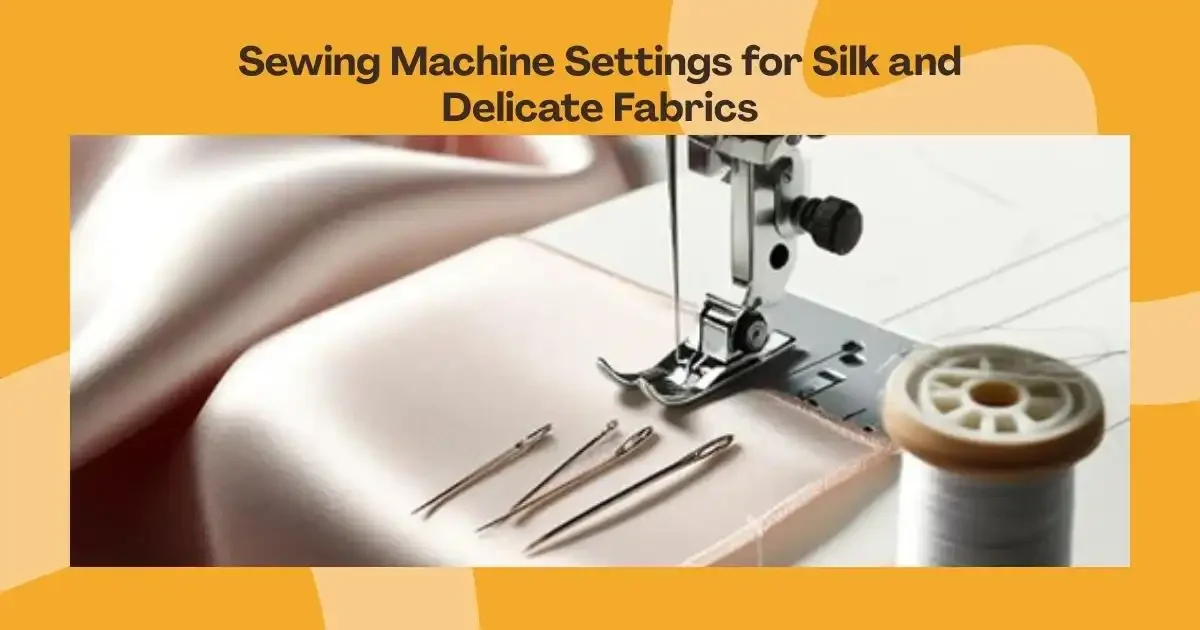
Silk and similar fabrics require careful handling. Their fine weave and slippery texture make correct sewing machine settings essential.
Silk
Needle type: Microtex
Needle size: 60/8 or 70/10
Stitch length: 2.0–2.5 mm
Tension: 3–4
A fine needle and thread reduce the risk of snags or visible holes.
Chiffon and Organza
Needle type: Microtex
Needle size: 60/8 or 70/10
Stitch length: 2.0–2.5 mm
Tension: 3–4
Stabilising the fabric with tissue paper can help prevent shifting while sewing.
Satin and Taffeta
Needle type: Microtex
Needle size: 70/10 or 80/12
Stitch length: 2.0–3.0 mm
Tension: 3–4
Reducing presser foot pressure helps avoid drag marks and puckering.
Sewing Machine Settings for Synthetic Fabrics
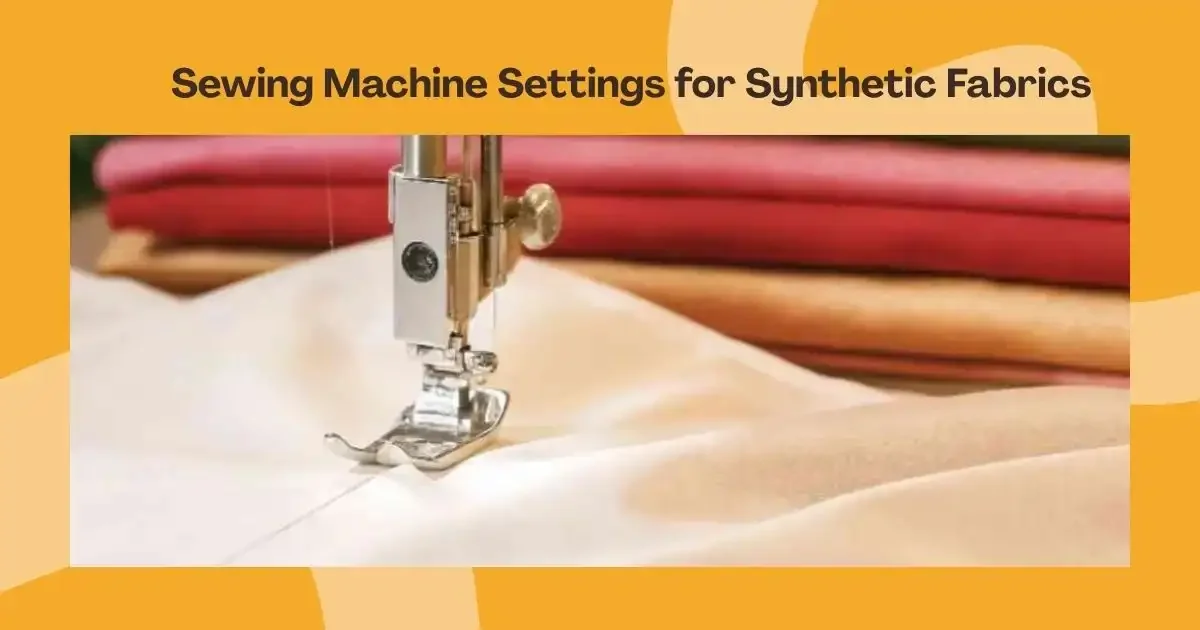
Synthetic fabrics are engineered materials designed for strength, stretch, and durability. Their smooth fibres can be slippery or elastic, requiring thoughtful adjustments.
General Needle Guidance
Lightweight synthetics: 70/10 or 75/11
Medium-weight synthetics: 80/12
Heavy synthetics: 90/14
Ballpoint or stretch needles are essential for knit synthetics.
Polyester
Needle type: Universal or Microtex
Needle size: 70/10 or 80/12
Stitch length: 2.5 mm
Tension: 4–5
Sharp needles help prevent snagging and puckering.
Rayon
Needle type: Microtex
Needle size: 70/10 or 80/12
Stitch length: 2.0–2.5 mm
Tension: 3–4
Rayon behaves like a delicate fabric and benefits from shorter stitches.
Stretch and Activewear Fabrics
Needle type: Stretch
Needle size: 75/11 or 90/14
Stitch type: Stretch stitch or narrow zigzag
Using the correct stitch prevents seams from snapping when the fabric stretches.
Testing Your Sewing Machine Settings
No matter how experienced you are, testing is essential. Always:
Use a fabric scrap from your project
Test stitch length and tension
Check both sides of the fabric
Adjust gradually
This small step saves time and frustration later.
Master Your Machine and Create with Confidence
Mastering sewing machine settings is about understanding how needle type, stitch length, and tension affect different fabrics. Testing on scraps and making small adjustments prevents mistakes, preserves fabric quality, and ensures smooth, strong seams.
With experience, you’ll anticipate fabric behaviour, select the right needle quickly, and balance tension for professional results, turning sewing from a task into a confident, creative craft. Take your sewing to the next level by exploring high-quality machines, needles, and accessories at Cotton Club, or enhance your skills further by joining their expert-led Sewing Courses and start creating with confidence today.
Frequently Asked Questions
What tension should I use for cotton?
For cotton, begin with a standard machine tension of 4 to 5, adjusting as needed—lighter cottons may require slightly less (around 4), while thicker quilting cottons might need a bit more (up to 5 or 6). Always test on a scrap first to ensure even, balanced stitches without loops or puckering.
How to tell if tension is correct?
Correct tension creates balanced stitches that sit neatly between fabric layers, producing smooth, even seams with no puckering or loops. If bobbin thread shows on top, increase the top tension; if top thread appears on the bottom or knots form, lower it. Always test adjustments on a scrap with contrasting thread.
Why is my sewing machine looping underneath?
If loops form on the underside of your fabric, start by adjusting the upper thread before altering the bobbin tension. Thread loops are often caused by incorrect threading, debris in the machine, or using a needle and thread that don’t match the fabric. Regularly checking these factors helps troubleshoot and prevent common sewing issues effectively.
What are common tension mistakes?
Failing to lower the presser foot can make your top stitches appear fine at first, but flipping your project over will reveal a messy, tangled nest of loose thread. Always lower the presser foot before sewing to prevent this common tension problem.