How To Use Hemming Tape
Limited time to do complicated sewing projects is a common problem for many people who want to fix their clothes at home. With busy schedules and daily responsibilities, setting up a sewing machine and stitching a hem can feel overwhelming. Yet small issues like pants that are too long or loose hems still need quick solutions.
Fortunately, hemming tape offers an easy alternative. This adhesive tape allows you to shorten garments quickly without sewing by using heat to bond the fabric together. But how exactly does hemming tape work, and how do you use it properly for clean, lasting results?
What Is Hemming Tape?
Hemming tape is a type of adhesive tape designed for fabric, used to bond two layers of material together when creating a hem. Instead of sewing stitches, the tape uses heat—usually from an iron—to activate the adhesive so it melts and sticks the fabric layers together. Because of this heat-activated adhesive, hemming tape is often referred to as iron on hemming tape or fusible hemming tape.
Many people use this fabric tape for hemming when they need quick clothing adjustments or temporary alterations. It’s especially helpful for beginners who want clean hems without learning sewing techniques right away.
Hemming tape is commonly used for:
Shortening pants or jeans
Fixing fallen hems on skirts or dresses
Quick alterations before events
Temporary garment adjustments
Simple DIY sewing projects
You’ll also find different variations of tape for hemming, including lightweight options for delicate fabrics and stronger versions designed for thicker materials.
Why Use Hemming Tape Instead of Sewing?
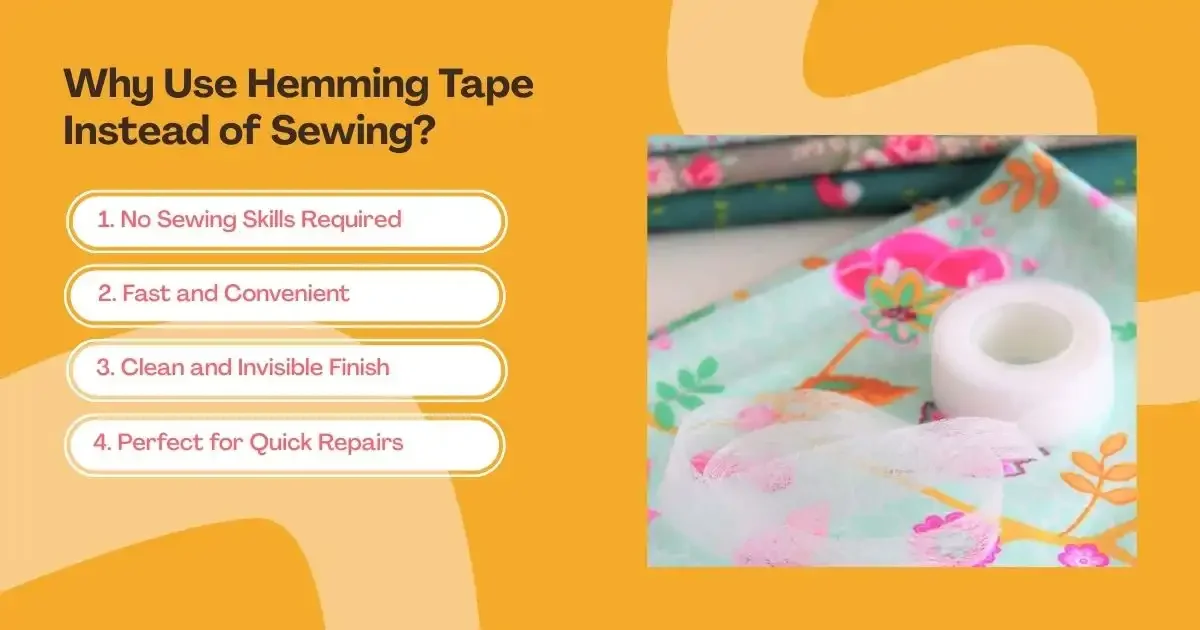
While traditional sewing creates permanent hems, hemming tape offers several advantages for quick fixes.
1. No Sewing Skills Required: One of the biggest benefits is that hemming tape requires no stitching at all. If you don’t own a sewing machine or aren’t confident with needlework, hemming tape allows you to complete clothing alterations easily.
2. Fast and Convenient: A hem that normally takes time to measure, pin, and sew can be finished in just a few minutes using iron on hemming tape.
3. Clean and Invisible Finish: When applied correctly, the tape remains hidden between layers of fabric, creating a neat and seamless appearance.
4. Perfect for Quick Repairs: If a hem comes undone right before work or an event, hemming tape can quickly fix the problem without requiring complicated tools.
Because of these benefits, many people consider it the best hemming tape solution for quick clothing alterations.
What are the Types of Hemming Tape?
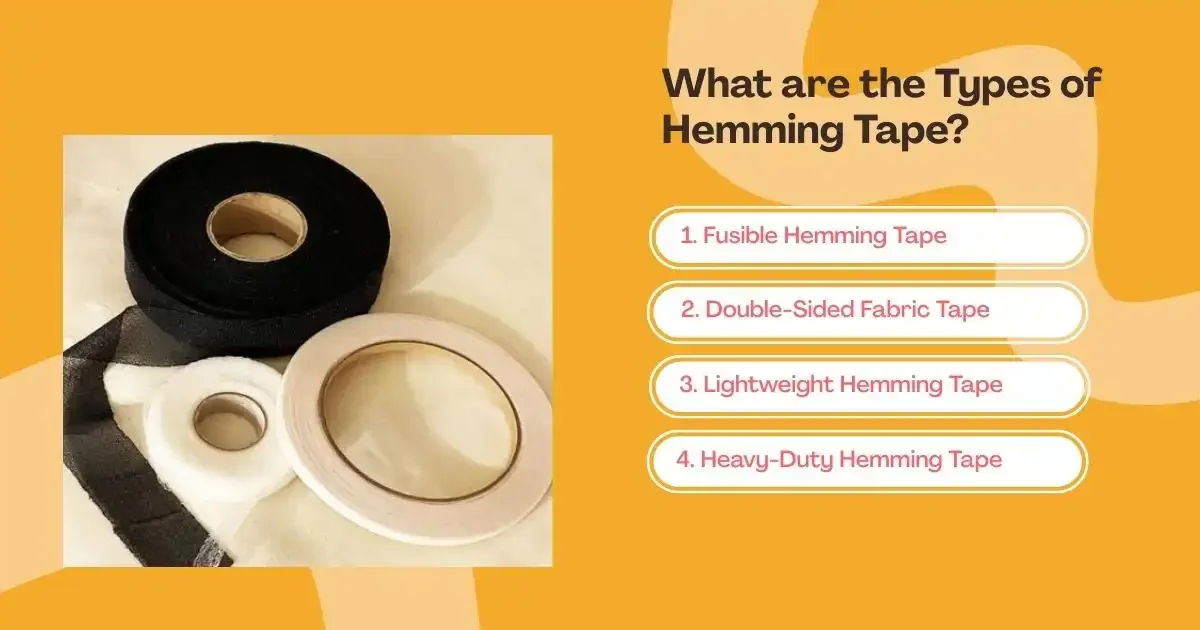
Not all hemming tapes are the same. Choosing the right one depends on the fabric you’re working with and how permanent you want the hem to be.
1. Fusible Hemming Tape: This is the most common type. It requires heat from an iron to activate the adhesive. It’s ideal for:
Cotton
Denim
Polyester blends
Most everyday fabrics
Fusible tape is often considered the best hemming tape for pants because it creates a strong bond that can withstand regular wear.
2. Double-Sided Fabric Tape: Some hemming tapes work without heat and act like adhesive strips. These are useful for temporary fixes but usually don’t last as long as iron-activated tape.
3. Lightweight Hemming Tape: Delicate fabrics such as chiffon or silk require thinner tapes that won’t show through the material.
4. Heavy-Duty Hemming Tape: For thicker fabrics like denim or wool trousers, a stronger adhesive tape is often recommended.
Choosing the best hemming tape for pants or skirts will depend on the thickness and weight of the fabric.
What are the Materials You’ll Need?
Before learning how to use hemming tape, gather a few basic tools.
You’ll need:
Iron on hemming tape
Clothing item to hem
Iron
Ironing board
Measuring tape or ruler
Fabric scissors
Pins (optional)
Having these tools ready will make the process smoother and ensure accurate results.
How To Use Hemming Tape (Step-by-Step)
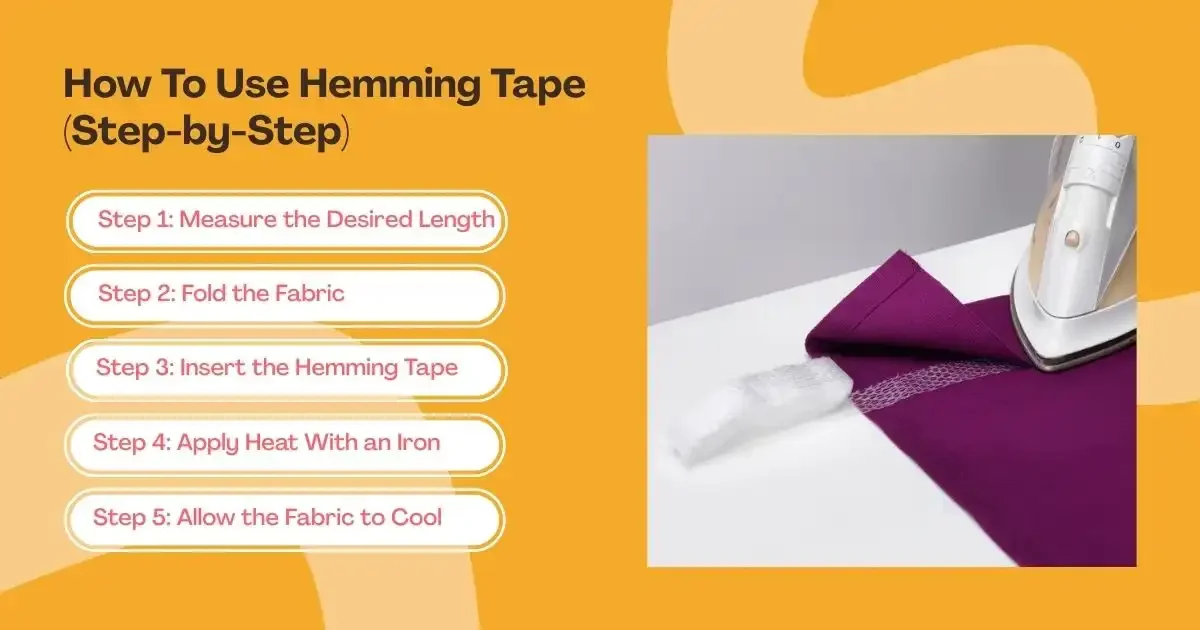
Using hemming tape is fairly simple, but following the correct steps will help ensure a strong and neat hem.
Step 1: Measure the Desired Length
Start by putting on the garment and deciding how short you want it to be. For hemming tape for pants, mark the desired length with pins or fabric chalk while wearing the pants with the shoes you plan to use.
After marking the length, remove the garment and measure the folded section to make sure the hem is even all around.
Step 2: Fold the Fabric
Turn the garment inside out and fold the fabric up to create the new hem. The folded edge should match the length you measured earlier. Press the fold lightly with an iron to help hold the shape before inserting the tape.
Step 3: Insert the Hemming Tape
Cut a strip of tape for hemming that matches the length of the hem. Place the tape between the folded fabric and the garment. The tape should sit evenly between the two layers. Make sure it is positioned properly so it won’t be visible from the outside.
Step 4: Apply Heat With an Iron
Set your iron to the correct temperature for the fabric. Press the iron over the hem area for several seconds. The heat melts the adhesive on the tape, bonding the layers of fabric together. Avoid sliding the iron around too much—pressing firmly works better for activating the adhesive. This is the step where iron on hemming tape bonds the fabric layers together.
Step 5: Allow the Fabric to Cool
After ironing, let the fabric cool completely before moving or wearing the garment. Cooling allows the adhesive to set and ensures the hem stays securely in place. Once cooled, turn the garment right side out and check the finished hem.
Tips for Using Hemming Tape Successfully
While hemming tape is simple to use, a few tips can improve the final results.
Choose the Right Tape for the Fabric: Light fabrics require lightweight adhesive, while thicker fabrics need stronger tape. Using the best hemming tape for pants ensures the hem holds up to movement and washing.
Test the Tape First: Before applying tape to your garment, test it on a small scrap piece of fabric. This helps confirm the correct iron temperature and adhesive strength.
Use Even Pressure: Applying consistent pressure with the iron helps activate the adhesive evenly across the hem.
Avoid Overheating: Too much heat can damage certain fabrics. Always check the recommended ironing temperature for your clothing.
Let the Adhesive Set: Allowing the hem to cool completely before wearing or washing the garment helps the adhesive bond properly.
Common Uses for Hemming Tape
Hemming tape is incredibly versatile and can be used for many clothing adjustments. Common uses include:
Shortening trousers using hemming tape for pants
Fixing loose skirt hems
Adjusting dress length
Repairing fallen hems on shirts
Temporary fashion alterations
Because of its convenience, it has become a popular tool for DIY clothing repairs and quick wardrobe fixes.
Take Your Sewing Skills to the Next Level
Hemming tape is a simple solution for quick clothing alterations without sewing. With an iron and the right tape, you can shorten pants, fix loose hems, and adjust garments while keeping a neat finish. Choosing the best hemming tape for your fabric and applying it properly helps ensure the adhesive holds well. While it may not replace sewing for permanent alterations, hemming tape is a convenient option for fast fixes and beginner-friendly clothing repairs.
If you’d like to go beyond quick fixes and learn how to create more polished, long-lasting alterations, developing your sewing skills can make a big difference. Cotton Club offers hands-on learning designed to help beginners and enthusiasts build confidence with real sewing techniques—from basic skills to more advanced garment making. You can browse our Sewing Classes and start improving your skills.
Frequently Asked Questions (FAQs)
How to use hem tape on a dress?
To use hem tape on a dress, start by making sure the fabric is clean and smooth. Fold the dress to the desired length, place the fusible hem tape between the folded edge and the fabric, then press it with a hot iron (without steam) for about 10–20 seconds to bond the layers together.
Can hemming tape be removed?
Yes, hemming tape can usually be removed by applying heat to loosen the adhesive. Using a hot iron with steam or a hairdryer can soften the glue, making it easier to gently peel the tape away. However, some sticky residue may remain on the fabric after removal.
Is hemming tape permanent?
Hemming tape is designed to create a strong, long-lasting bond between fabric layers and can usually withstand multiple washes. It works as an iron-on adhesive alternative to sewing, helping hold hems in place without stitching. While it is generally considered semi-permanent and can be difficult to remove once the adhesive has fully cooled, the bond may weaken or start to peel over time, especially on garments that are washed frequently.
Does hem tape wash out?
No, hem tape does not simply wash out. It is designed to bond with fabric, so it should be removed by gently pulling it off section by section before washing the garment. If the clothing is washed or dried—especially in a dryer—the adhesive can melt further into the fabric and may damage the garment.