How To Read A Sewing Pattern
To read a sewing pattern, choose your size using the measurement chart, then read the instructions before starting. Follow the symbols, cutting layout, and seam allowances for accurate results.
Sewing patterns often feel confusing at first, especially for beginners. With unfamiliar symbols, measurements, and instructions, sewing patterns may look intimidating, but once you understand how they work, they become an incredibly helpful guide.
So where do you start, and what does each part of a sewing pattern really mean?
What Is a Sewing Pattern?
A sewing pattern is a printed or digital guide that shows you how to cut fabric pieces and assemble them into a finished project, such as clothing, accessories, or home items. It includes shapes (called pattern pieces), measurements, symbols, and written sewing pattern instructions that guide you from start to finish.
Think of a sewing pattern like a roadmap. Instead of guessing how to make something fit together, the pattern tells you:
What pieces you need
How big to cut them
How to join them
In what order to sew
Understanding sewing patterns is an essential skill for beginners and an important step in learning to sew independently.
What Comes Inside a Sewing Pattern?
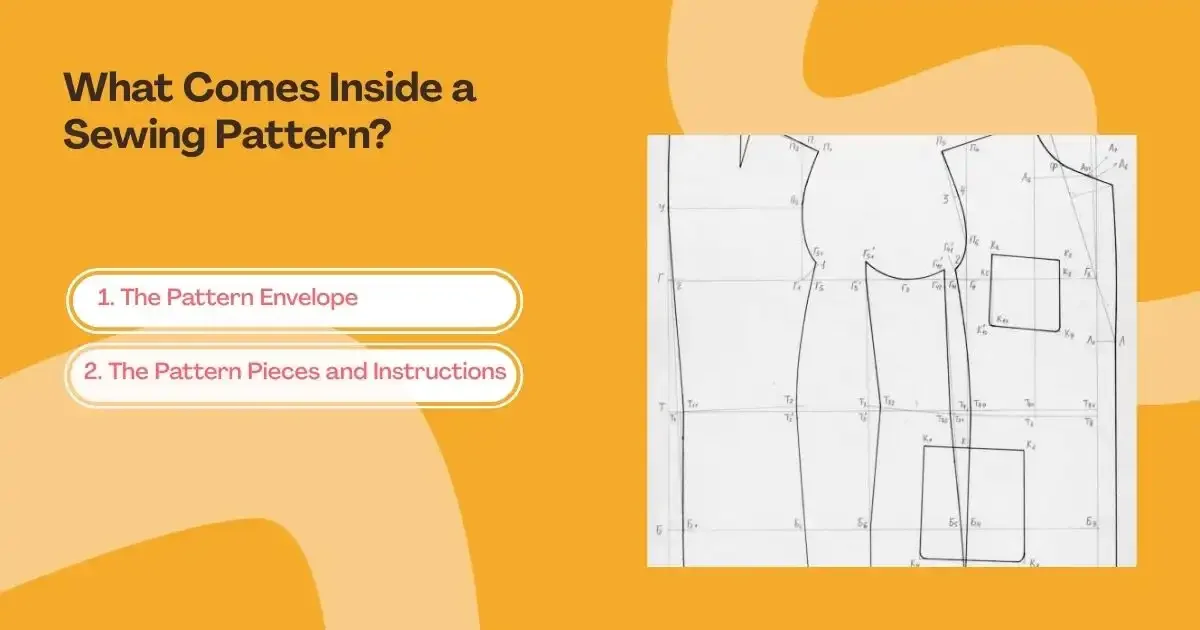
Before you start reading a pattern, it helps to know what’s included. Most sewing patterns contain two main parts:
1. The Pattern Envelope (or Cover Page)
This gives you an overview of the project, including:
Images or drawings of the finished item
Skill level (beginner, intermediate, advanced)
Fabric suggestions
Size options
How much fabric and supplies you’ll need
The back of the envelope is especially important because it helps you decide if the project is suitable for your skill level or for a child learning to sew.
2. The Pattern Pieces and Instructions
Inside, you’ll find:
Thin paper sheets with pattern pieces printed on them
A set of sewing pattern instructions explaining how to assemble everything
Learning to recognize how these two parts work together is key to successful pattern reading.
How Do Sewing Pattern Sizes and Measurements Work?
One common beginner mistake when reading a sewing pattern is choosing the wrong size. Sewing pattern sizes differ from ready-to-wear clothing, so it’s important to rely on measurements rather than age or store-bought size.
Most patterns include a size chart based on body measurements and often finished garment measurements as well. Always measure the person who will wear the item and compare those numbers to the chart. This is especially important when sewing for children, who grow quickly and vary widely in size.
For parents looking for extra support, the Monday After School Sewing Club helps children learn these skills hands-on, with guidance on measuring, sizing, and reading patterns in a supportive, age-appropriate setting.
How to Read the Sewing Pattern Instructions?
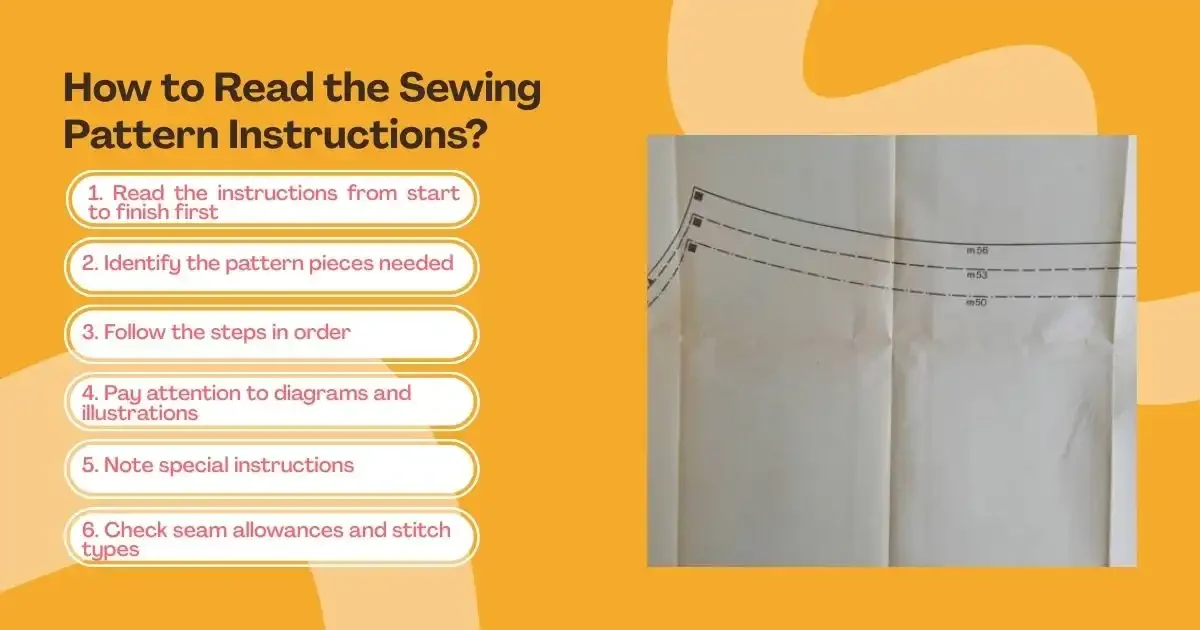
Here are the steps when reading a sewing pattern instructions:
1. Read the instructions from start to finish first: Before cutting or sewing, read through the entire instruction sheet so you understand the overall process and order of steps.
2. Identify the pattern pieces needed: Each step will mention specific pattern piece numbers or names—make sure you have the correct pieces ready before sewing.
3. Follow the steps in order: Sewing pattern instructions are written in sequence, so avoid skipping ahead, as each step builds on the previous one.
4. Pay attention to diagrams and illustrations: Diagrams visually show how pieces should be placed or sewn together and often clarify written instructions.
5. Note special instructions: Look out for details such as pressing seams, trimming fabric, or backstitching, as these affect the final result.
6. Check seam allowances and stitch types: Instructions often tell you how wide to sew and what stitch to use—following these helps ensure accurate fit and construction.
How to Identify and Use Pattern Symbols?
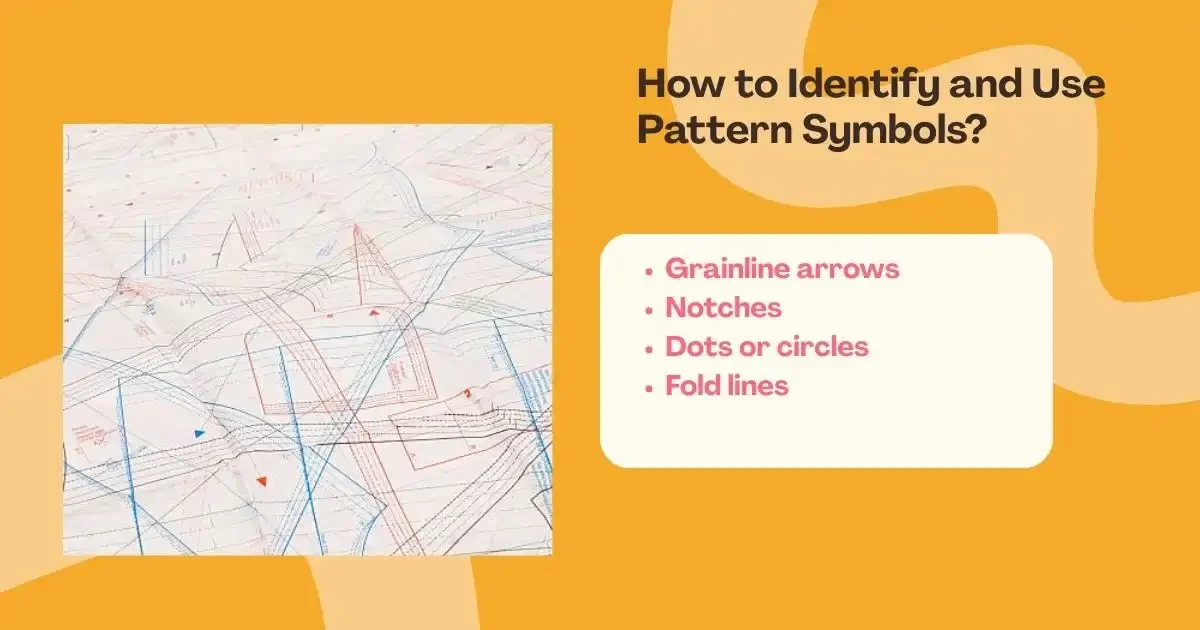
Pattern pieces include symbols that act as visual instructions. Learning to recognize them is an important part of understanding sewing patterns.
Common symbols include:
Grainline arrows – show how to align the pattern with the fabric grain
Notches – help match pieces correctly
Dots or circles – mark placement points, such as pockets or darts
Fold lines – show where fabric should be folded before cutting
Taking time to understand these symbols will improve accuracy and help projects come together properly. For children who learn best through hands-on guidance, practising these skills in a supportive setting—such as the Thursday After School Sewing Club—can make pattern symbols feel far less confusing and much more fun.
Fabric Layout and Cutting Guides
Most patterns include a cutting layout diagram. This shows how to place pattern pieces on your fabric to use material efficiently.
When reading a pattern, pay close attention to:
Fabric width (patterns often show layouts for different widths)
Whether fabric should be folded
Directional prints or nap (important for fabrics like velvet)
Following the layout helps prevent mistakes like cutting pieces upside down or running out of fabric.
Seam Allowances: Why They Matter
Seam allowance is the space between the stitching line and the edge of the fabric. Some patterns include seam allowances already, while others require you to add them yourself.
The pattern instructions will clearly state:
Whether seam allowances are included
How wide they are (commonly ⅝ inch or 1 cm)
This is a crucial detail in pattern reading, especially for beginners, because forgetting seam allowances can affect fit and size.
Matching Pattern Pieces Correctly
Each pattern piece is labeled with:
A name or number
How many times to cut it
Whether to cut on folded fabric
While reading sewing patterns, always double-check that you’ve cut:
The correct number of pieces
The correct size
The correct orientation
Encouraging kids to label their pieces with masking tape or chalk can make this step easier and more fun.
Common Mistakes When Reading Sewing Patterns
Understanding sewing patterns also means knowing what to avoid. Common beginner mistakes include:
Skipping the instruction sheet and sewing by guesswork
Cutting the wrong size
Ignoring fabric recommendations
Missing symbols or notches
Remind beginners that mistakes are part of learning. Every project—even imperfect ones—builds confidence and skill.
Why Learning to Read Sewing Patterns Is Worth It?
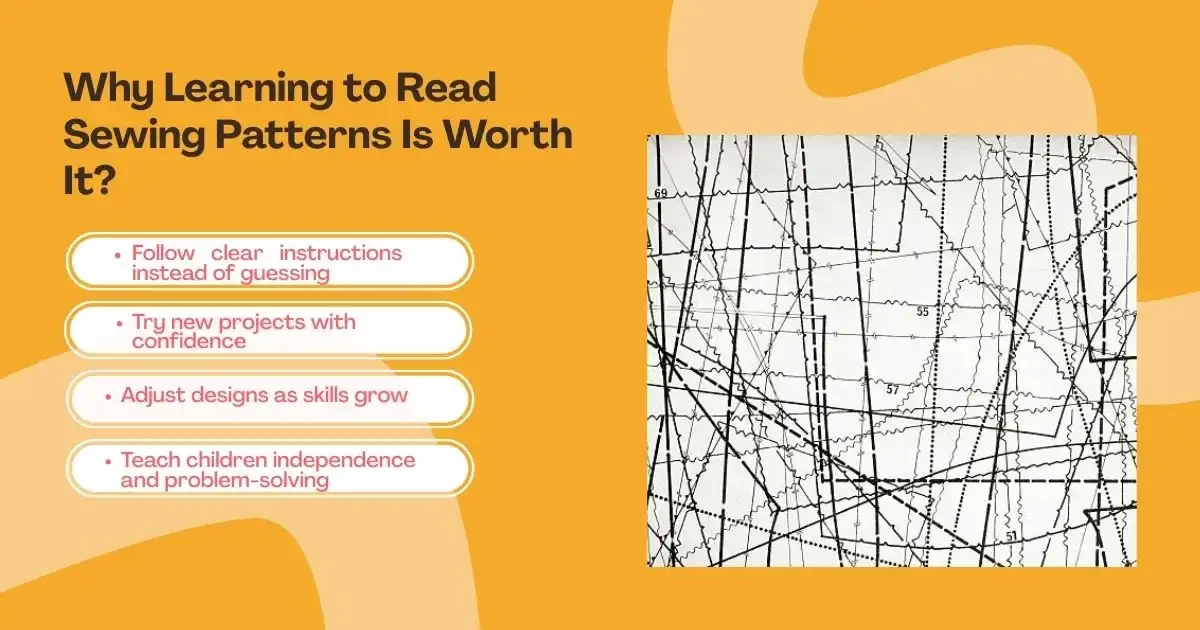
Once you’re comfortable with reading sewing patterns, sewing becomes much more enjoyable and creative. Patterns allow you to:
Follow clear instructions instead of guessing
Try new projects with confidence
Adjust designs as skills grow
Teach children independence and problem-solving
Pattern reading turns sewing from a challenge into a rewarding, structured learning experience.
Your Sewing Journey Starts with the First Pattern
Learning how to read a sewing pattern is less about memorizing details and more about understanding how patterns communicate. As this skill develops, confidence grows, mistakes become learning moments, and sewing feels more creative and enjoyable—especially for beginners and children building lifelong skills.
If you’re ready to take the next step and build confidence with real guidance and support, learning alongside others can make all the difference. At Cotton Club, beginners and children are supported through clear, structured sewing lessons designed to make skills like pattern reading feel approachable and fun. Browse the hands-on Sewing Courses to turn what you’ve learned here into practical experience.
Frequently Asked Questions (FAQs)
How do I trace a sewing pattern?
To trace a sewing pattern, place tracing paper (such as parchment paper, Swedish tracing paper, or medical exam paper) over the original pattern and secure it with weights. Then, carefully trace the size you need along with all grainlines and markings using a pencil or pen, keeping the original pattern untouched for future use or adjustments.
How to read sewing pattern fabric requirements?
To read sewing pattern fabric requirements, find your size on the chart, then match it with the pattern view and fabric width. The chart will show how much fabric you need—for example, a size 20 making View A with 60-inch-wide fabric may require 1 yard.
How do you identify pattern pieces?
To identify pattern pieces, look for the numbers or letters printed on each piece, as these labels show which part of the garment they represent, such as the front, back, or sleeves. Then check the cutting lines on each piece and be sure to follow the line that matches your selected size.
How to trace a pattern without cutting it?
To trace a pattern without cutting it, place pattern card underneath the original pattern and use a tracing wheel to transfer the lines by rolling over them. The wheel leaves small dots on the card, which you can then connect with a ruler to create clear pattern lines—this method keeps the original pattern intact and creates a more durable, reusable copy.